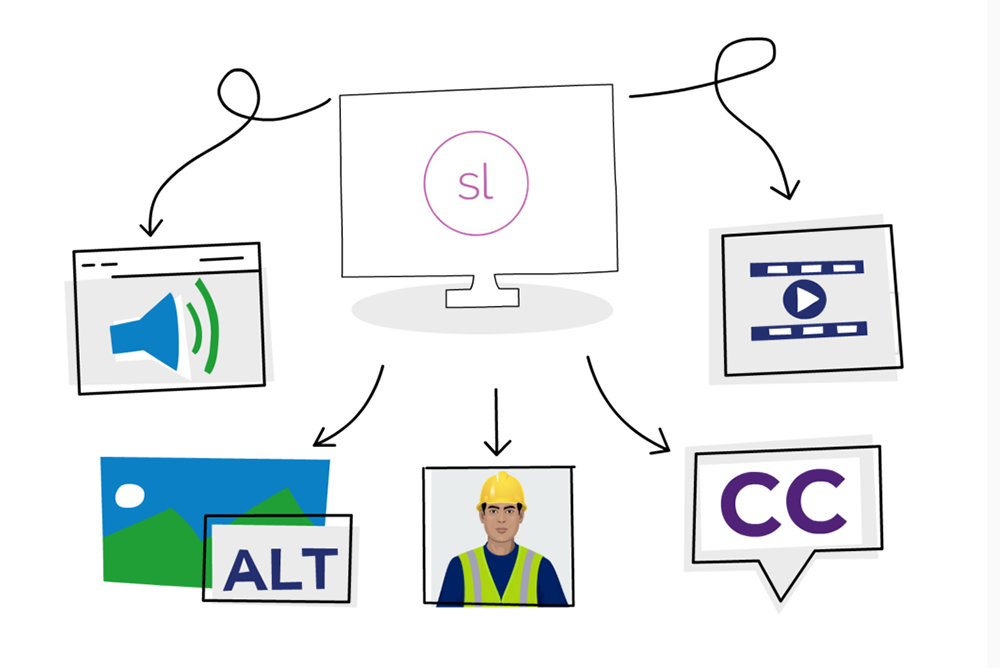
If you’ve ever built a complex Articulate Storyline project, you’ll know how quickly media assets can pile up. Images, audio, video, closed captions, and alternate text – it all adds up. Without a system, you can easily lose track of what’s in use, which files need updating, and where accessibility gaps remain.
That’s where the Media Library comes in. Used well, it’s not just a storage space – it’s a workflow powerhouse that can save hours of development time and help you maintain consistency across your course. Watch this video demonstrating the Media Player.
Here’s how to make the Media Library your secret weapon.
1. Centralise All Your Media Assets
The Media Library gives you a single, central view of every image, audio clip, video, and character used in your project. Instead of hunting through slides, you can quickly see what’s there, what’s duplicated, and where it’s used.
Tip: When starting a new project, import your key media assets upfront – logos, backgrounds, icons, characters so they’re ready to drop in. This helps you keep brand consistency from slide one.
2. Attach Closed Captions to Audio in One Place
If your project includes voiceover audio, adding closed captions one slide at a time can be painfully slow. Instead, head to the Media Library and work through all your audio files in one sitting.
Here, you can open each audio track, upload its matching CC (srt.) file, and instantly update every slide that uses it. This is especially fast if you’ve finalised your audio at the end of development and prepared your CC files in advance.
Pro move: If you use AI text-to-speech in Storyline just switch on Closed Captions and these will be automatically generated with the audio.
3. Review and Update Alt Text for Accessibility
Accessibility is not just a compliance checkbox, it’s a critical part of inclusive design. In the Media Library, you can view and edit all alt text in one place, instead of opening every slide individually.
This is especially useful for catching missing descriptions or rewording generic labels like “image1.jpg” into something meaningful for screen readers.
4. Replace Assets Without Breaking Links
Need to swap out an outdated logo or correct a video? Do it in the Media Library. When you replace a file here, it updates everywhere it’s used in the course—no need to hunt down individual slide placements.
This is a huge time-saver during client feedback rounds when you’re often making multiple visual changes at once.
5. Swap a Character Across the Whole Course Without Losing Poses
Need to update a character’s look? The Media Library makes it painless.
Instead of manually replacing characters on every slide, simply open the character in the Media Library, choose your new character (illustrated or photographic), and Storyline will update it everywhere, keeping all the original poses intact.
This is especially handy if you’re applying late-stage branding changes or adapting a course for a different audience, saving hours of repetitive editing.
5. Keep an Eye on Asset Usage
The Media Library shows exactly which slides each asset appears on. This makes it easy to:
- Remove unused files to reduce project size.
- Check that brand assets are used consistently.
- Confirm you’ve updated the right version of a file.
6. Build a Repeatable Workflow
A smooth Media Library workflow might look like this:
- Initial setup – Import core assets and organise them by type.
- Accessibility check – Add alt text for all images and upload CC files for all media.
- Design refinement – Replace placeholder assets with final approved versions.
- Final review – Remove unused files and confirm asset usage is correct.
Once you’ve done it a few times, you’ll find it’s a habit that saves time, reduces errors, and improves the quality of your builds.
Why This Matters
For eLearning developers, efficiency is about creating space to focus on the things that make a course engaging and effective. By mastering the Media Library, you can handle updates faster, ensure accessibility is built in from the start, and keep your projects clean and consistent.
The best part? Once you’ve streamlined your workflow, those time savings add up across every project you build.
Want more time-saving techniques like these?
Our Certified Articulate Storyline Training workshop dives deep into practical tips, hidden features, and proven workflows that help you design and build smarter. You’ll walk away with the skills to create accessible, engaging courses — faster and with fewer headaches.
Find out the dates for Certified Articulate Storyline Training workshops here.
