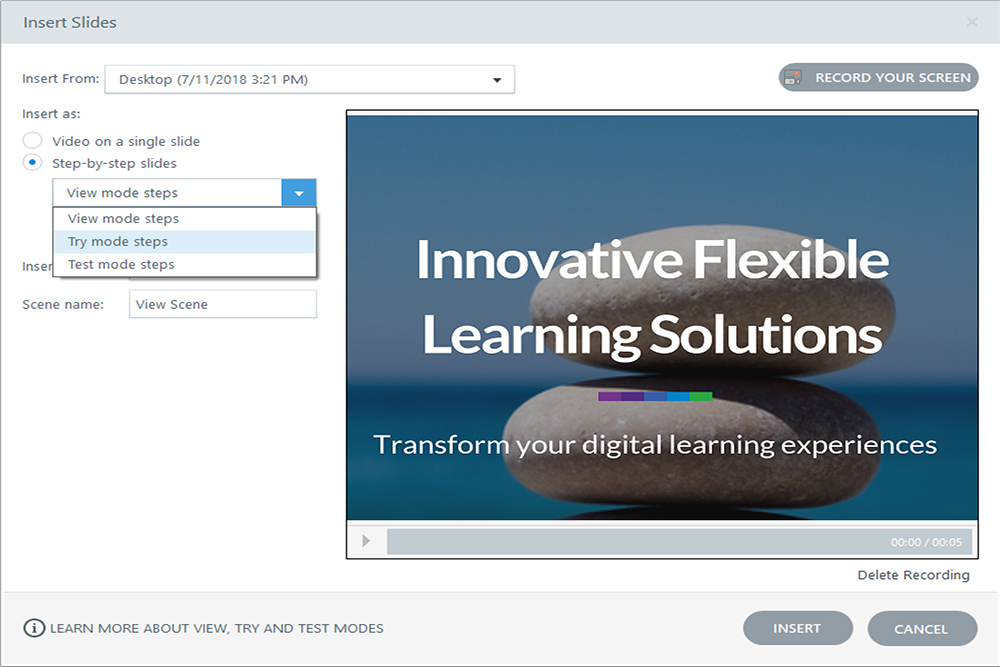
Last week I delivered Articulate Storyline training to the Sunshine Coast Hospital and Health Service, Queensland. One of the questions I was asked was how to create good quality screen recordings? The screen recording feature in Storyline is one of my favourites. It’s really easy to use and allows you to use the recording in four different outputs:
- Video
- View
- Try
- Test
I‘ve recently been creating a lot of screen recordings for clients so I had a few good tips to share with the group. I’ve put some of these questions below.
How long should screen recordings be?
Keep them short in length. This not only makes them easier for the user but also easier on you the developer. There isn’t a vast amount of research about video ‘length’ in eLearning but most people use the rule of thumb to keep it to around 3 minutes max. I like to keep my screen recording videos even shorter especially if I’m trying to teach a complicated system with a variety of different steps. By keeping your screen recording short, it also makes it easier to edit them during the development phase. When recording in Storyline your can convert the Video to View, Try and Test modes which break each mouse click down into a single slide. Storyline automatically creates display captions with instructions. If you have to edit the slide or use the Action Fine Tuning feature it can become very time consuming and confusing if you have a large amount of slides.
What size should I record my screen – full screen or default?
Record your screen at the same size you’ll display your video on the web. I’ve found that screen recording video falls apart once you start resizing it e.g. text can start to look fuzzy. If you’re unsure then take a test video and see which one you like best e.g. full screen or custom size. It’s also a good idea to check that you have a high screen resolution in your screen settings. Before you start your recording, resize your window to fit the recording size exactly. Keep this the same for all your recordings in the same course to ensure consistency. In Storyline, you can also adjust the image and video quality before publishing.
I always end up having duplicates of screens, how can I prevent this?
How do you get to Carnegie Hall? Practice! The same can be said for screen recordings. Practice what you want to record and you’ll develop a simple and effective recording that gets your message across. Record screens with a slow fluid mouse movement. Some people like to have a script ready to keep them on track. Remember each mouse click will be converted to a slide in the View, Try and Test modes. Having a script will also prevent you stumbling over words or sections if you are also using audio. No one likes to hear ‘umms or aaahhs’ in a screen recording!
Any other tips?
Don’t forget the Publish to Word feature. Once you’ve done your screen recordings you can publish the course to Word. This automatically creates a workbook to accompany your course. I get asked this question a lot as many people still like to have a workbook or notes to accompany what they doing. You can edit this word document and add some extra tips. It can also be a nice way to create an eLearning Space Guide for you users. However I find that when I Publish to Word, the screenshots turn out better when I publish the screen shot size to ‘Large’.
Happy Screen Recording!
