
Inserting video from website
This is by far the easiest option if you have a lot of YouTube content, although trimming and cropping options aren’t available for this selection. This will also keep your course size relatively small, because you’re not inserting the file, you’re just embedding a link to YouTube that plays in your slide.
When you find a video you want to use in your course, you need to look for the “EMBED” code. On YouTube, you’ll find that under the Share option, then click Embed.
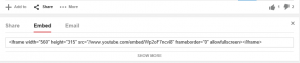
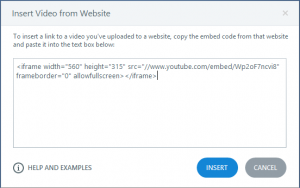
Copy this Embed code, then go to your Storyline project. Select Insert > Video > Video from Website, and paste the Embed code into the dialogue box
You’ll now have access to the Video Tools Options menu, where you can make modifications to the size and functionality of how the learners interact with it, for example adjusting the show video and play video options, along with adding video controls.
Inserting video from file
This option will give you far greater control over the size and timing of your video, however be mindful that your course size will increase, especially if you have selected good quality videos.
Again, from the Insert > Video menu, select the Video from File option, and browse for your video file.
This time the Video Tools Options menu gives you the ability to adjust the volume and compression and edit the video further. Video volume and Compression are pretty straight forward selections, so let’s move on to video editing.

Cropping and Trimming Videos

While the videos I found were really great quality, and demonstrated exactly what I was after, some came with captions, which I didn’t need, and the end of the videos talked about Microsoft products, which wasn’t necessary for my course. To adjust these 2 things, I used the cropping and trimming features.
Cropping
With the inserted video selected, click the Video Tools Options menu. Select the Edit Video button to bring the Video Editor. As you can see, the grey panel of this video contains the voice over captions, which I didn’t really need, so selecting the Crop button, allows us to crop out that panel, much like cropping out an image.
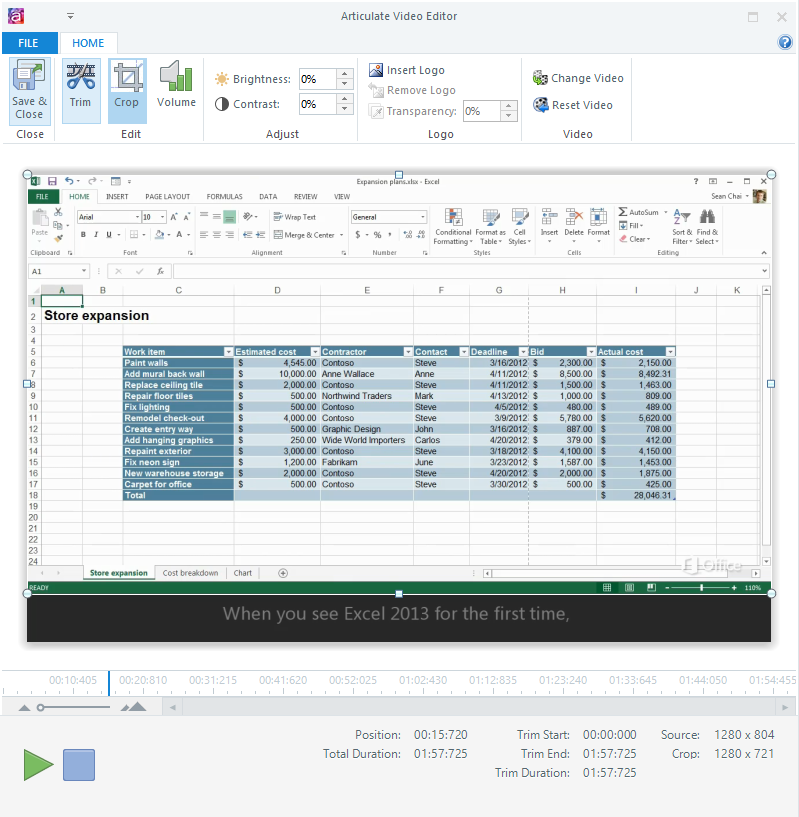
Adjust the handles of the crop area to display only the part of the video you want to be displayed. Like cropping an image, the video is still intact, we’re just adjusting the part that you see in the published version. So if we decided to put the captions back in, we could come back in here and remove the crop.
Trimming
This feature allows you to ‘trim’ parts off the beginning and the end of the video. For example, you have a video explaining steps in a procedure, you can use the trim feature to edit this into smaller videos to place on individual screens. Select the Trim button and the timeline below the video now contains a shaded area at either end, with timing and trim positions in the bottom panel. The dark blue line in this player is the playhead, and you can use this to preview the video at any point, and select a playback position for previewing your trim adjustments.

To trim the video, simply drag the blue shaded areas to the start and finish points you require. If you only want to trim the end, then drag the beginning back to zero. (See Picture below).

